Homemade Crispy & Creamy Konafa
By Yasmine Mattar • June 14, 2015
4 servings
30 min
Easy
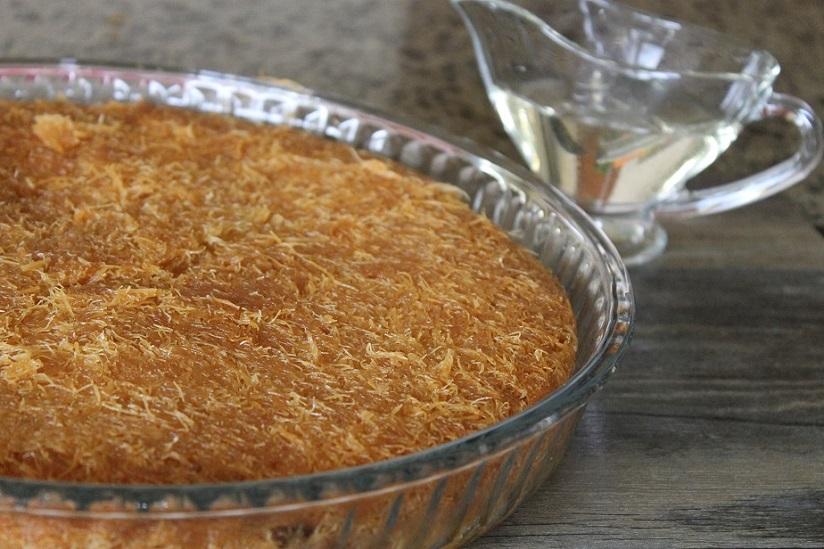
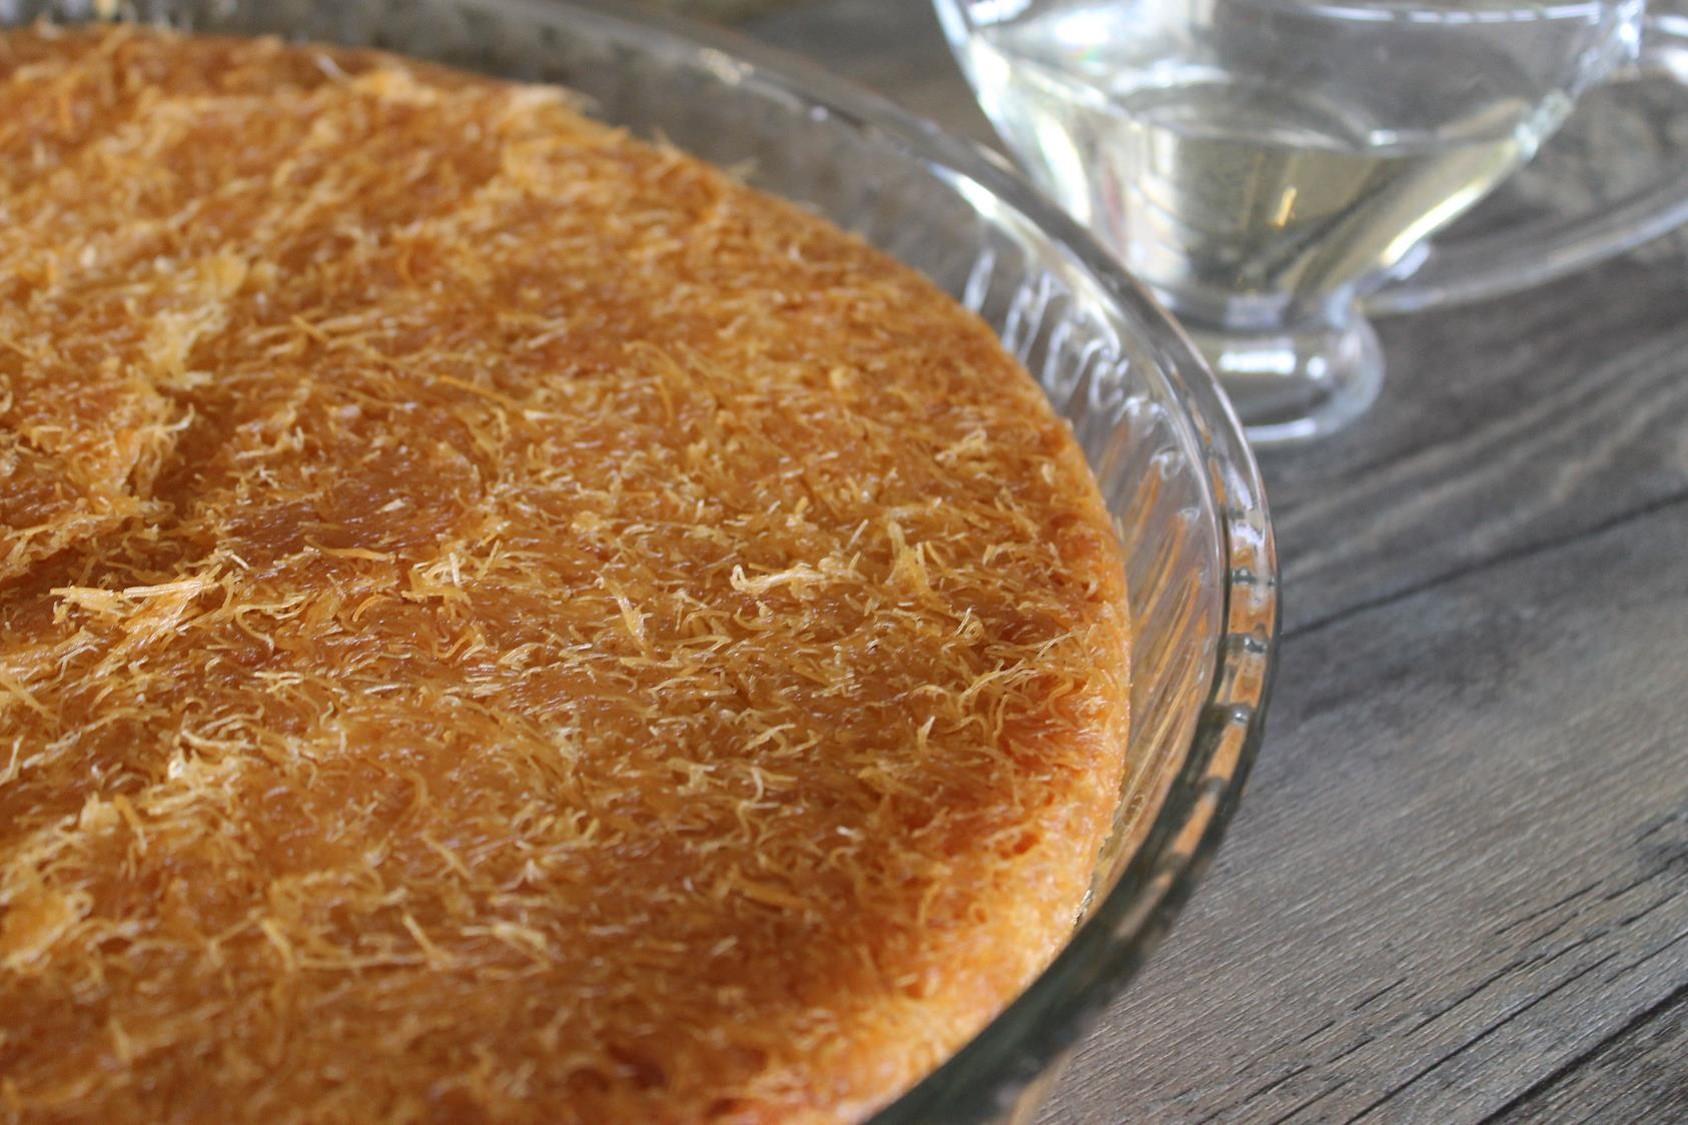
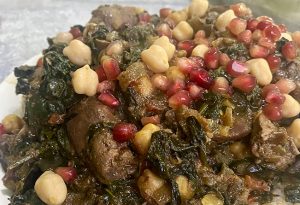
Golden, thin, crispy and shimmering with light sweet syrup on top… who can resist that temptation!?
This recipe is by Yasmine Mattar for her article with www.cairocooking.com. For more tips on mastering the konafa, read the full article here.
Ingredients
- 500 gram konafa - كنافة
- 0.5 cup corn oil - زيت ذرة
- 250 gram butter (melted) - زبدة
- FILLING
- 3 cup milk - لبن
- 4 tablespoon corn flour - نشا
- 4 tablespoon sugar - سكر
- 1 pack vanilla - فانيليا
- SYRUP
- 2 1/2 cup sugar - سكر
- 1 1/4 water - ماء
- 1/2 small lime (juice) - ليمون بلدي
- 1 pack vanilla - فانيليا
Step by step
- For the syrup, heat water and sugar on medium heat. Do not stir or stir to a minimum so that sugar doesn’t stick on the sides of the pot and burns. When it boils, lower the heat and leave to simmer for about 5- 8 minutes only.
- Add the lemon juice turn off the heat. It will not be as thick as honey, however it will thicken more as it cools.
- Add the vanilla while the syrup cools. Vanilla should never be added while the syrup is still cooking or it may result into a bitter taste.
- For the filling, mix the cold milk, sugar and corn flour together in a pot and stir well. The milk needs to be cold so the corn flour dissolves without lumps.
- 2. Place the pot over medium heat. When it starts to boil, lower the heat and stir until it thickens. It will take about 5 minutes. If you feel it needs extra corn flour to thicken, mix one tablespoon corn flour with little cold milk and add to the pot. It needs to have the thick consistency of a pudding when it cools.
- Add the vanilla once it is off the heat and leave it to cool.
- For the konafa, melt the butter and the oil together and set aside.
- In a big bowl, use your hands to break the Konafa into small pieces. Frozen Konafa should easily break in your hands. If you are not using frozen konafa, you can use scissors to cut it to small bits. Take your time with this action and remove any bits that are too thick or dry.
- Add the raw konafa in the tray to be able to roughly measure how much konafa you will need before you start rubbing the whole quantity with the butter/oil mixture. The konafa will still be fluffy and should reach a little less than the end of the tray edge.
- After you measure, move the konafa in another bowl to start rubbing the konafa with the butter/ oil mixture.
- Use a ladle to add the butter mix (bit by bit) to the Konafa using your fingers to rub it all around the raw Konafa ensuring it is nicely coated and moist.
- With your hands, start evenly pressing half the amount of Konafa in the tray. Make sure the base of the tray is very well covered without any holes before you pour the filling. Empty holes in the base allows the filling to fall through to the bottom of the tray and burn – not allowing you to turn over the baked dessert.
- Carefully spoon the filling on the konafa base leaving 1 cm border around the konafa because you don’t want it to ooze out of the konafa and stick to the tray. Don’t pour the filling in the middle then use a spoon to spread it, because you might end up spreading konafa pieces with it and it might result into a broken konafa base. Just spoon bit by bit all over the konafa base except the borders.
- Put small pieces (like small cotton balls) of remaining second half of the konafa over the filling until you cover the whole tray. Use your hands to gently press.
- Preheat the oven at 200C for 10 minutes, before you lower the heat to 180C and bake it for 60 to 75 minutes (depending on your oven) until nice and golden. Please note that after 60 minutes you will need to check on the Konafa every 5 minutes. Let it take its time in the oven. Do not rush it so you don’t end up with Konafa that is golden from the outside while still raw from the inside.
- Leave it to cool down for 10 minutes then turn it over in the serving dish.
- Use a ladle to pour your preferred amount of syrup over the warm Konafa. You can always serve more syrup in a bowl next to the dish so people can add to their liking.
Share RECIPE


i’ve followed the recipe for the syrup but it fails to thicken no matter how long i’ve let it boil or simmer. I’ve added 5 cups of water to the 2.5 cups of sugar, have I overdone the water ratio? Anyone?
Hi Salma! How exciting was doing this konafa? Let us know how it turned out finally! As for the syrup, I think you confused the ratio. It should be more sugar than water in order for it to thicken – so the ratio is 2 sugar to 1 water. If you wanted to use 2.5 cups sugar you should have added 1.25 cups water. And if you wanted 5 cups water then you should’ve used a looot of sugar for it to thicken! 🙂